Easter Craft Idea: DIY Acrylic Pour Eggs

Happy Easter week! For this post I want to share a fun Easter craft idea that I have always wanted to try— DIY acrylic pour easter eggs! I hope this post can inspire you to get creative and go a little out of the box with your easter crafts this year!
supplies
This post contains Amazon affiliate links, which means I receive a small portion of sales, at no additional cost to you. Thank you for supporting my blog through your purchase!
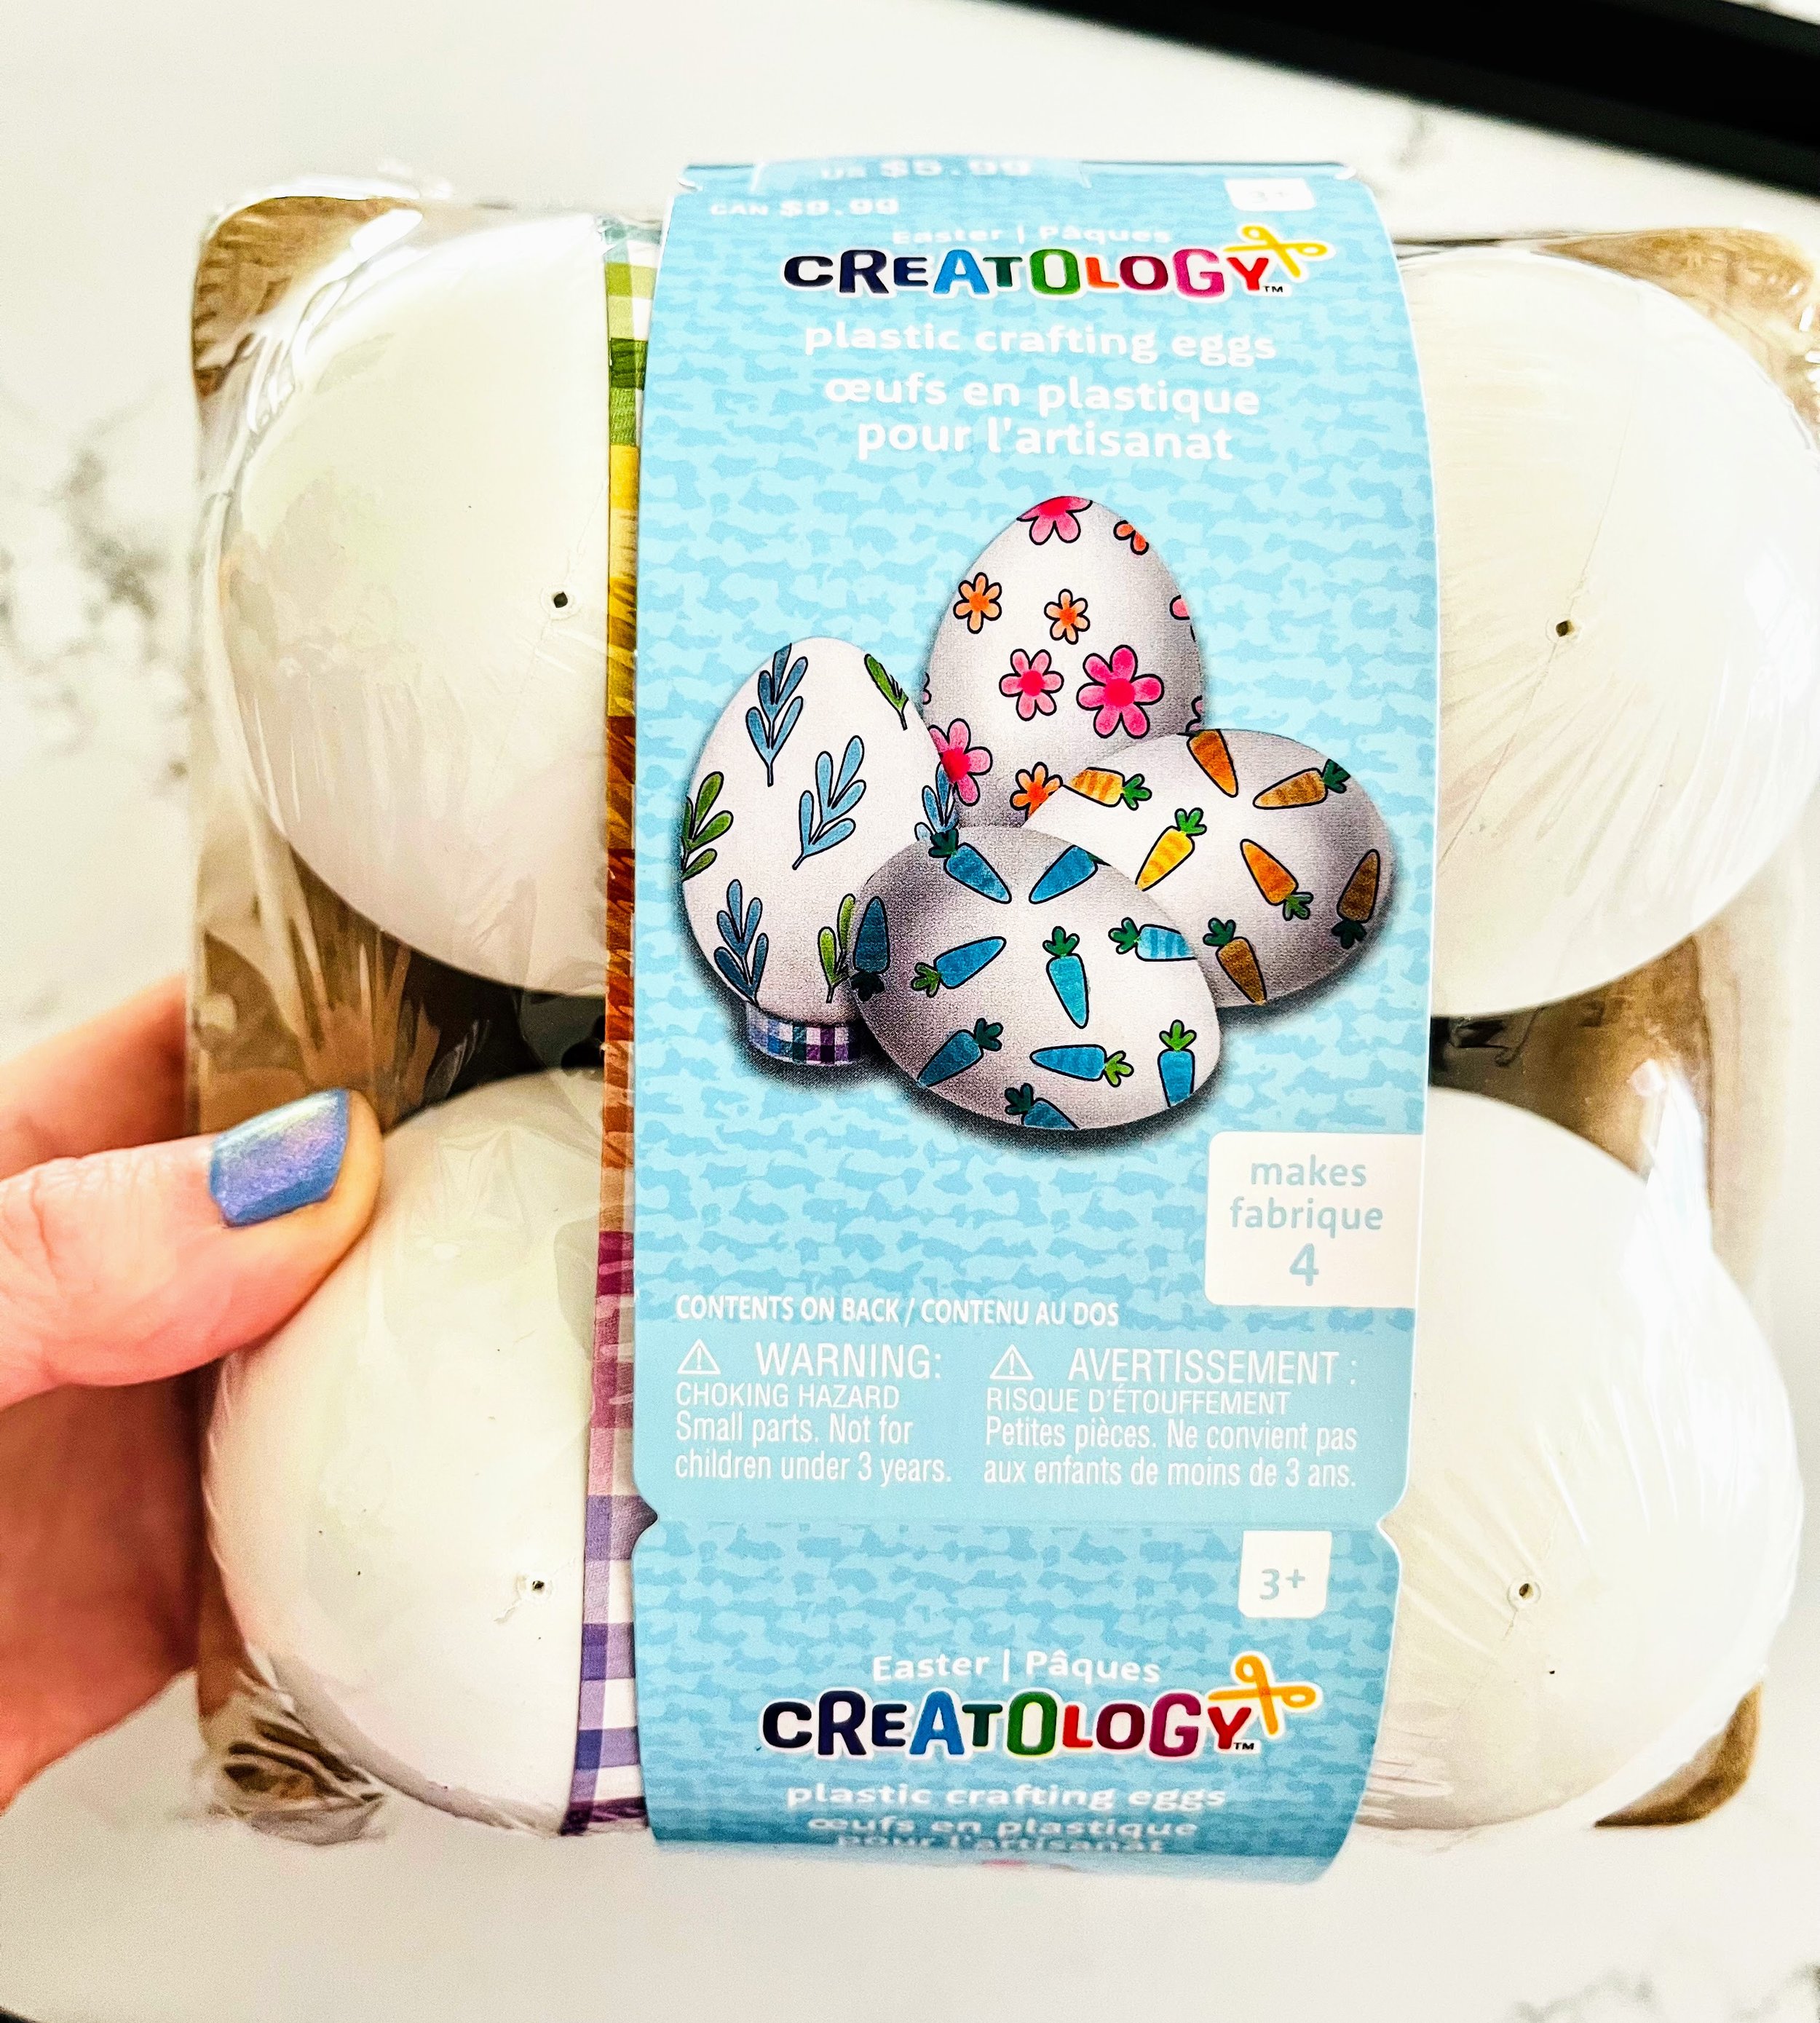
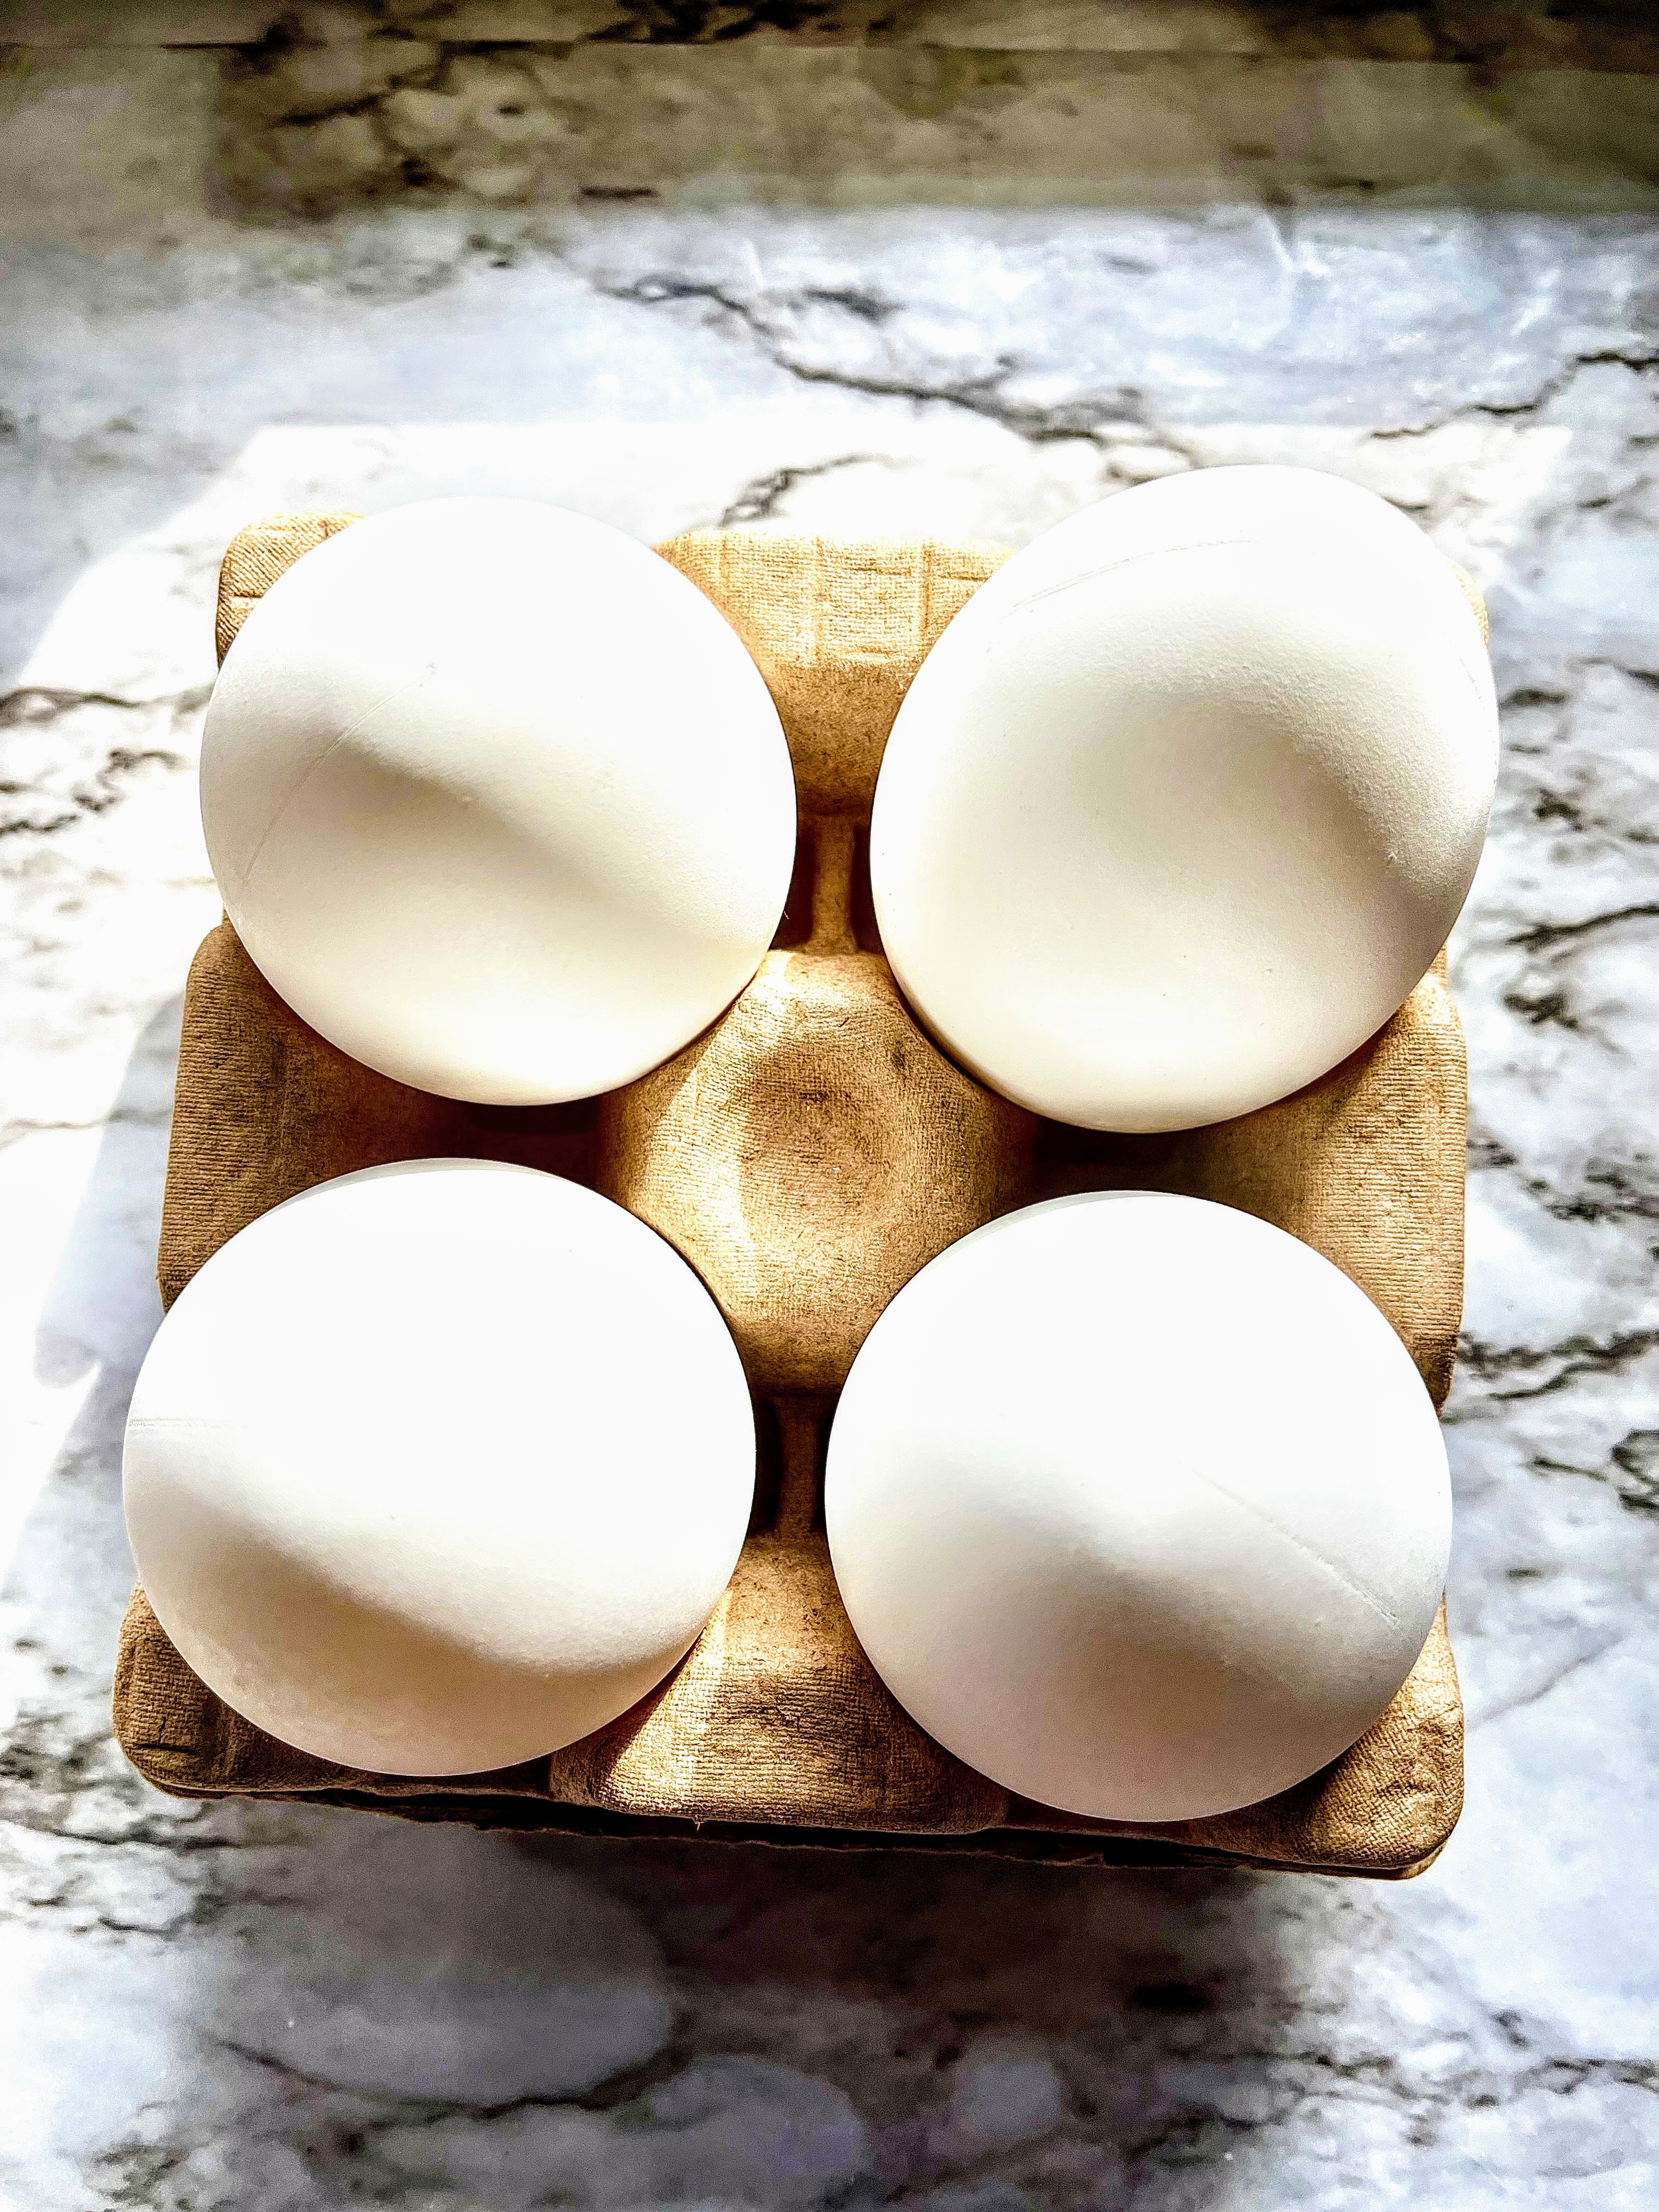
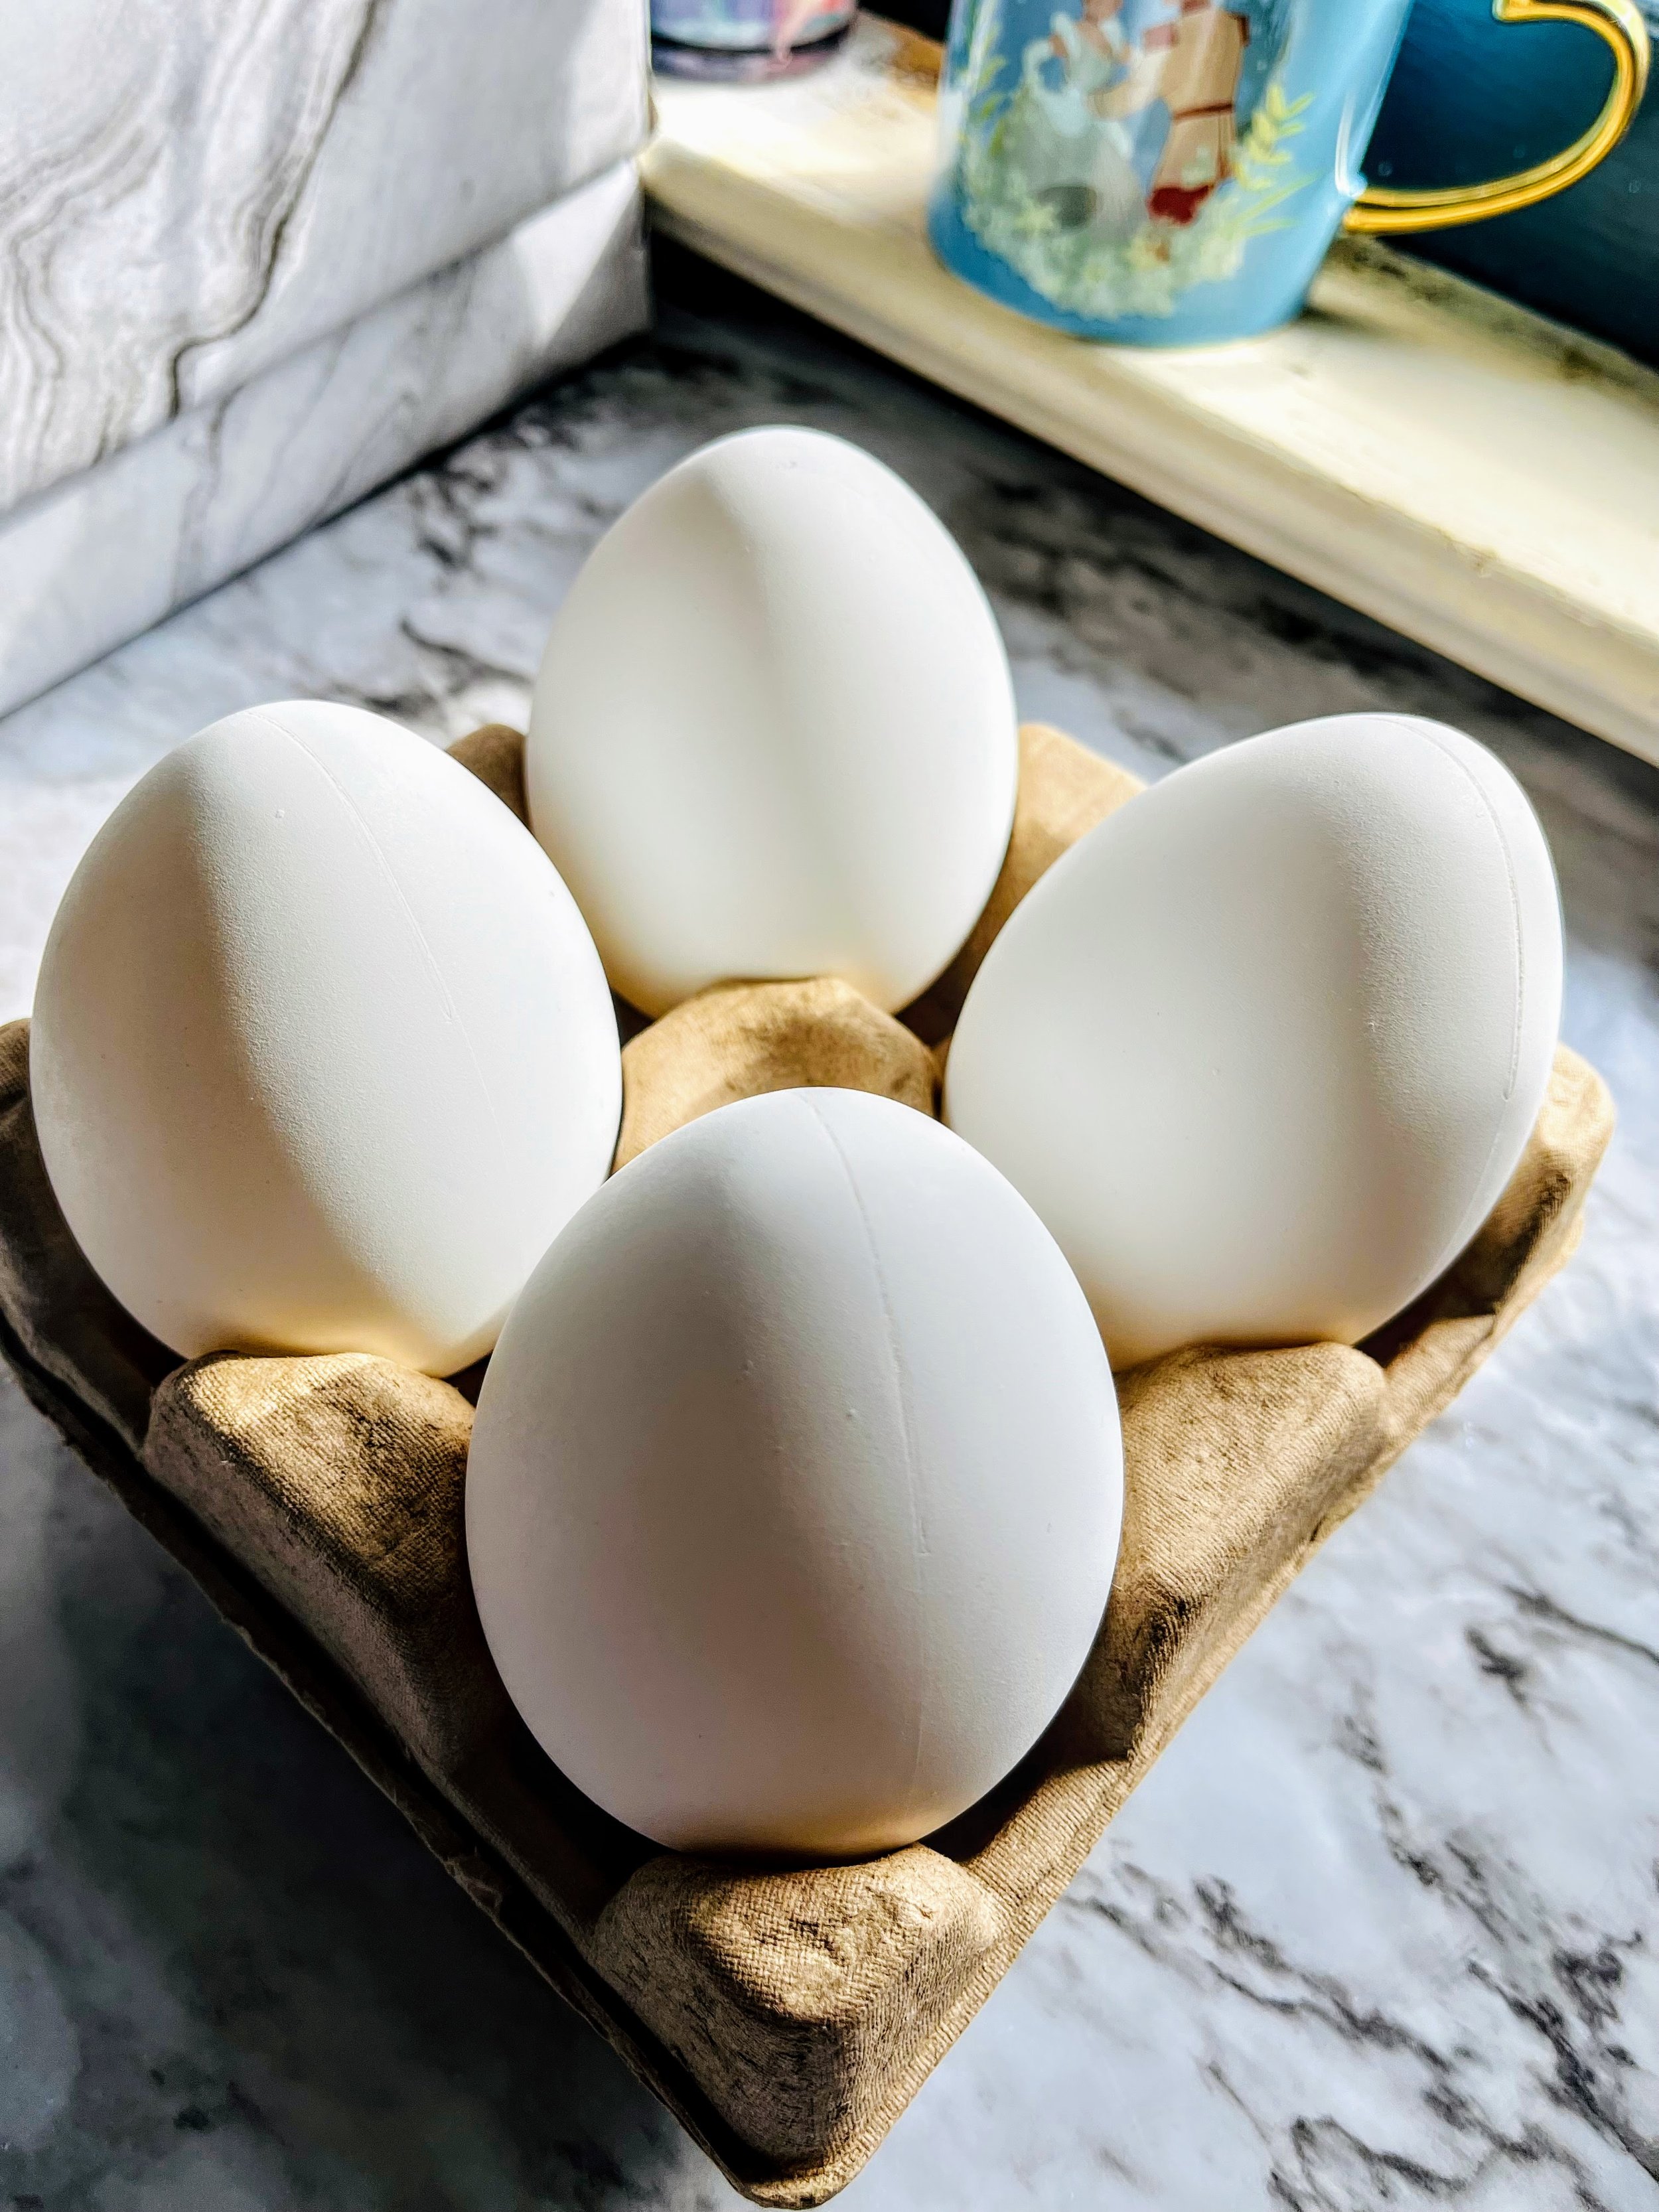
1.) faux eggs
I highly recommend using either plastic or ceramic faux easter eggs instead of real ones for this project idea. Not only will the process be less messy, but you can keep your eggs out all season and reuse them next year. I ended up using these larger plastic eggs from Michael’s Crafts, but I linked some other good options from Amazon below.


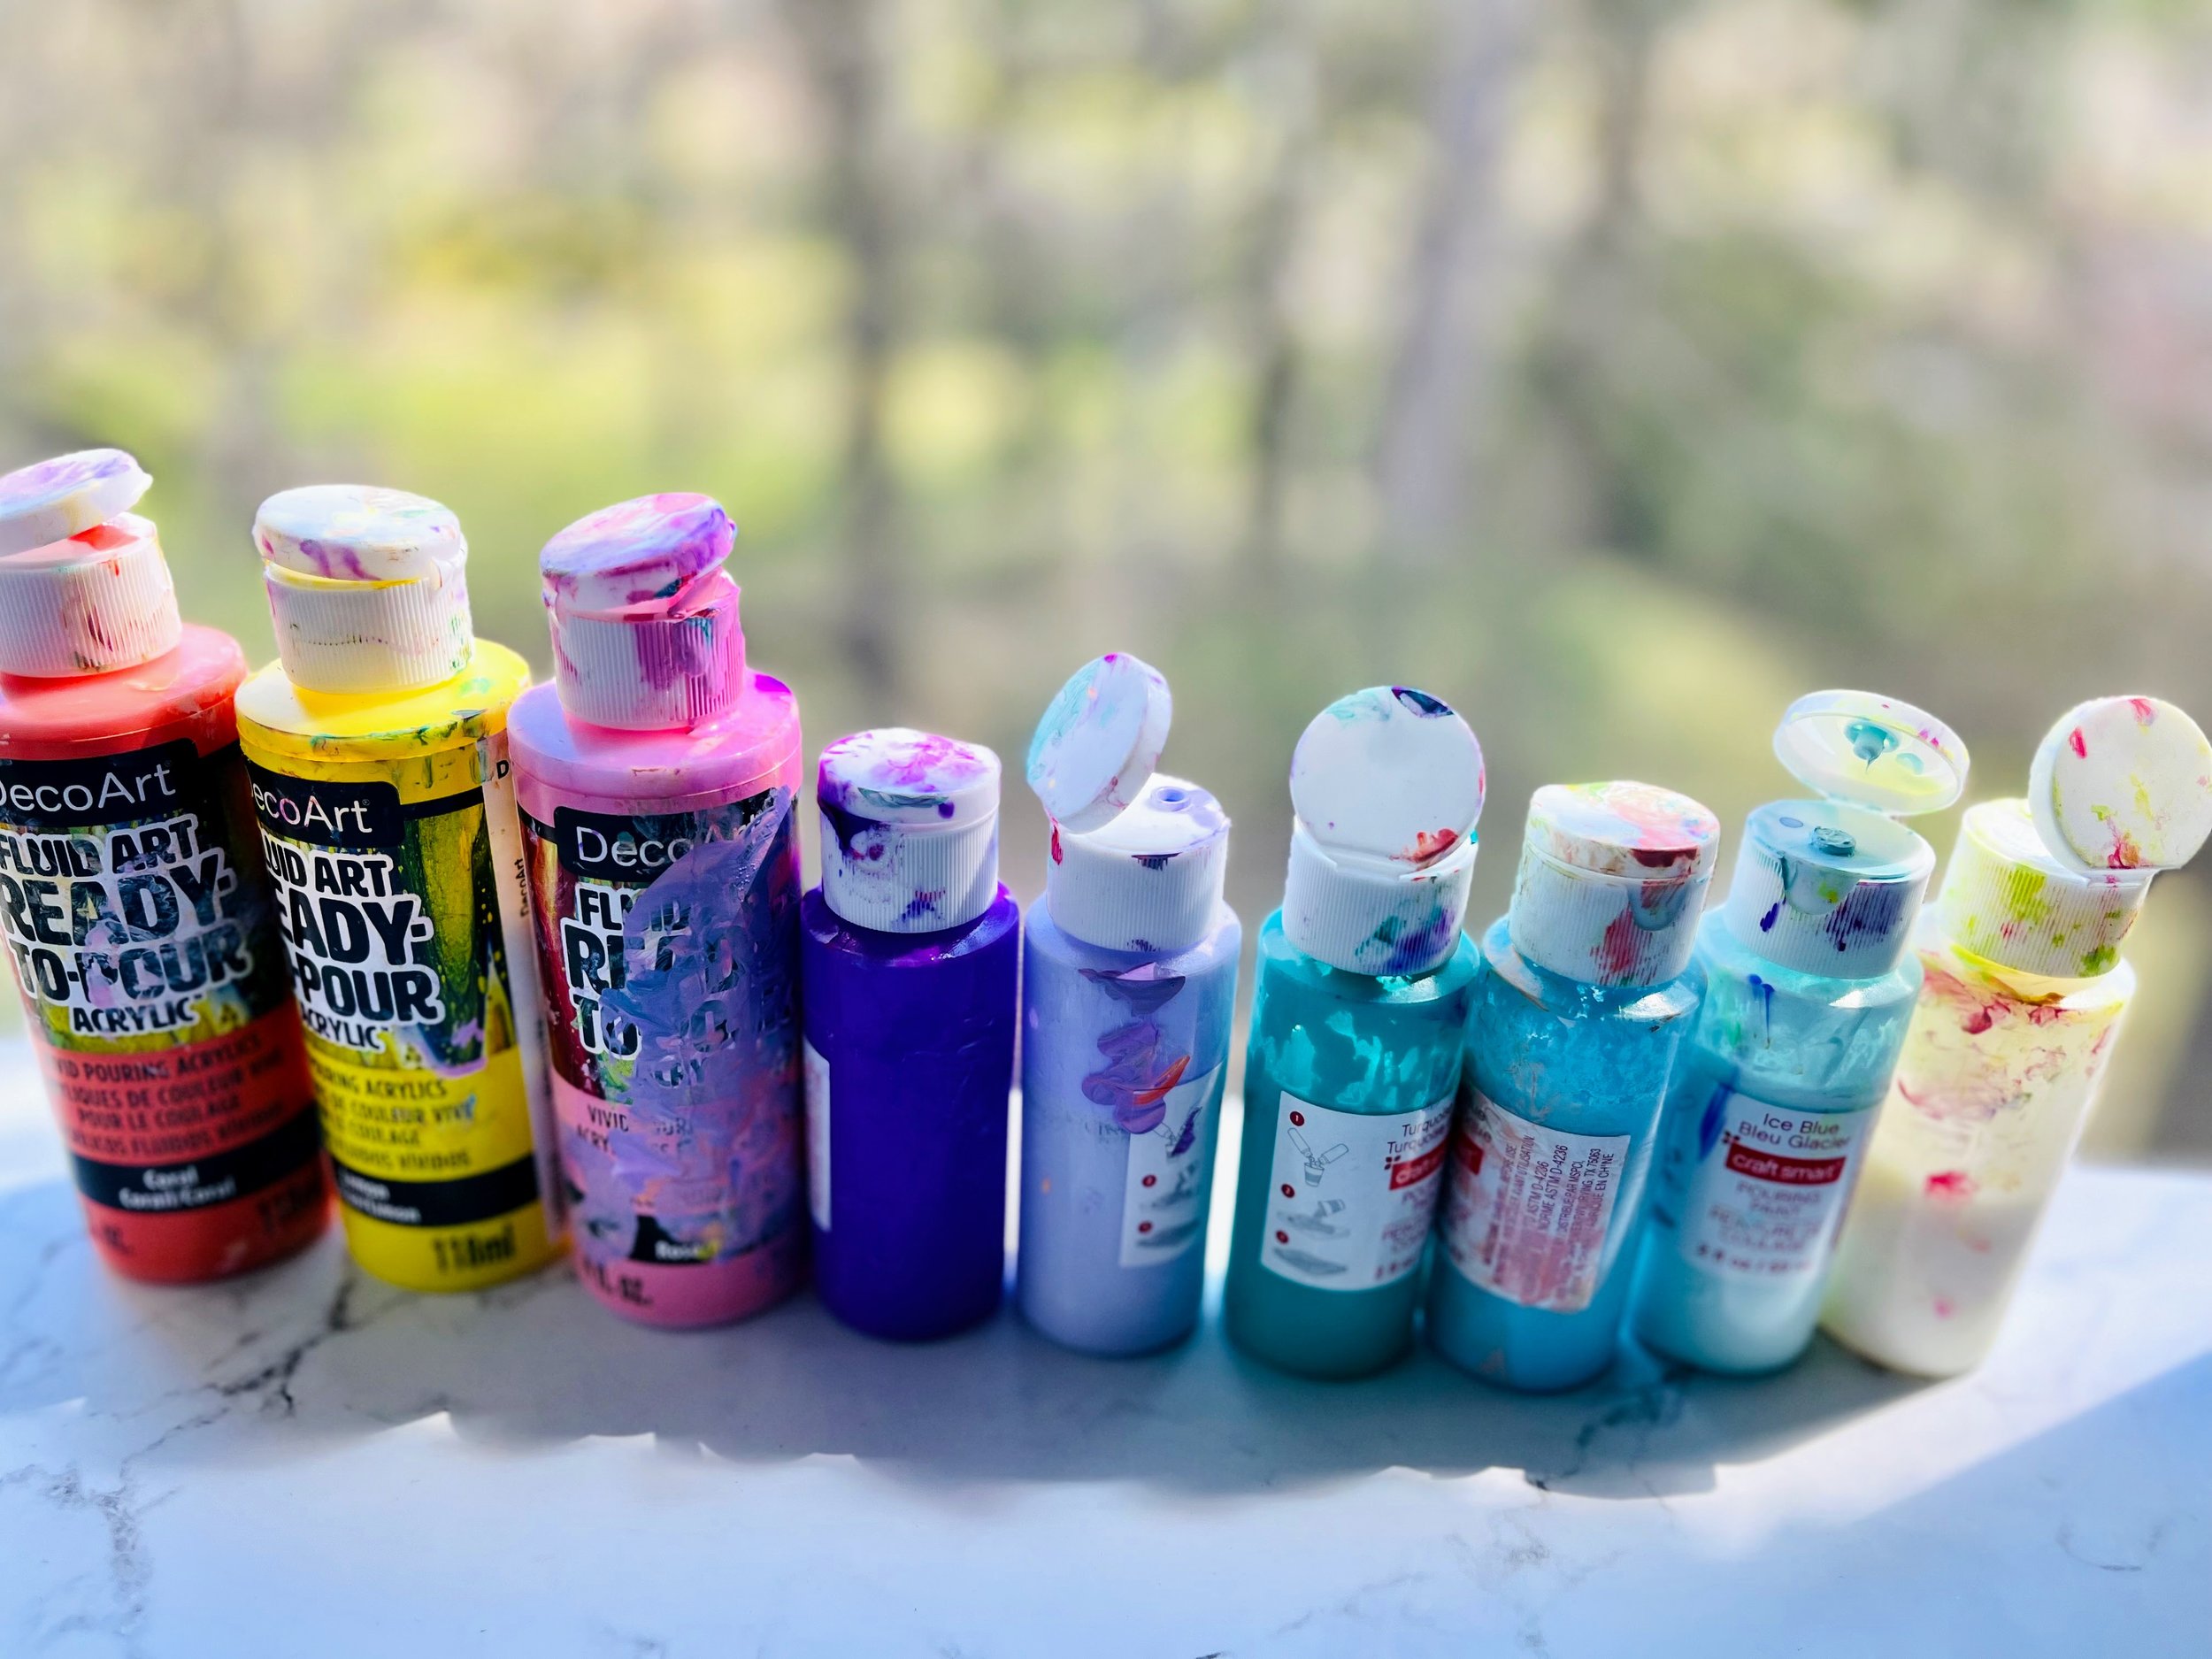
2.) acrylic pour paint
While there are many ways to color eggs, for this project you will need an acrylic paint that is primed for pouring. Michael’s Crafts has an incredible selection of fun colors but you can find them at many places. I have been using DecoArt’s Fluid Art Ready to Pour acrylic paint collection in all sorts of pastel and tropical colors. I will link to some fluid paints on Amazon below.


3.) plastic gloves
You will DEFINITELY want a pair of throwaway gloves for this process…..it gets pretty messy! You can find throwaway gloves at nearly any drugstore or superstore like Walmart, Target, etc. Below is a latex-free option from Amazon.

4.) glitter
If you want your eggs to have a little extra something magical, I highly recommend getting a few tubes of sprinkle glitter in gold, silver and rose gold but it is entirely up to you! Below are some different options to try.


5.) newspaper
Like I said above, acrylic pour is a pretty messy process, so you will for sure want to have some newspapers or a craft cloth you don’t mind getting dirty covering your work surface.
6.) egg holder
This last tip is something I wish I thought of getting before starting my eggs. Because the paint drips very fast, you will want some sort of egg holder to place your eggs in while they are drying to allow excess paint to drip down on the paper below and allow your eggs to dry seamlessly. I made the mistake of placing mine back in the cardboard carton and the cardboard actually stuck to parts of the eggs! Below are some egg stands I found that could be a practical way to both dry and display the finished eggs.


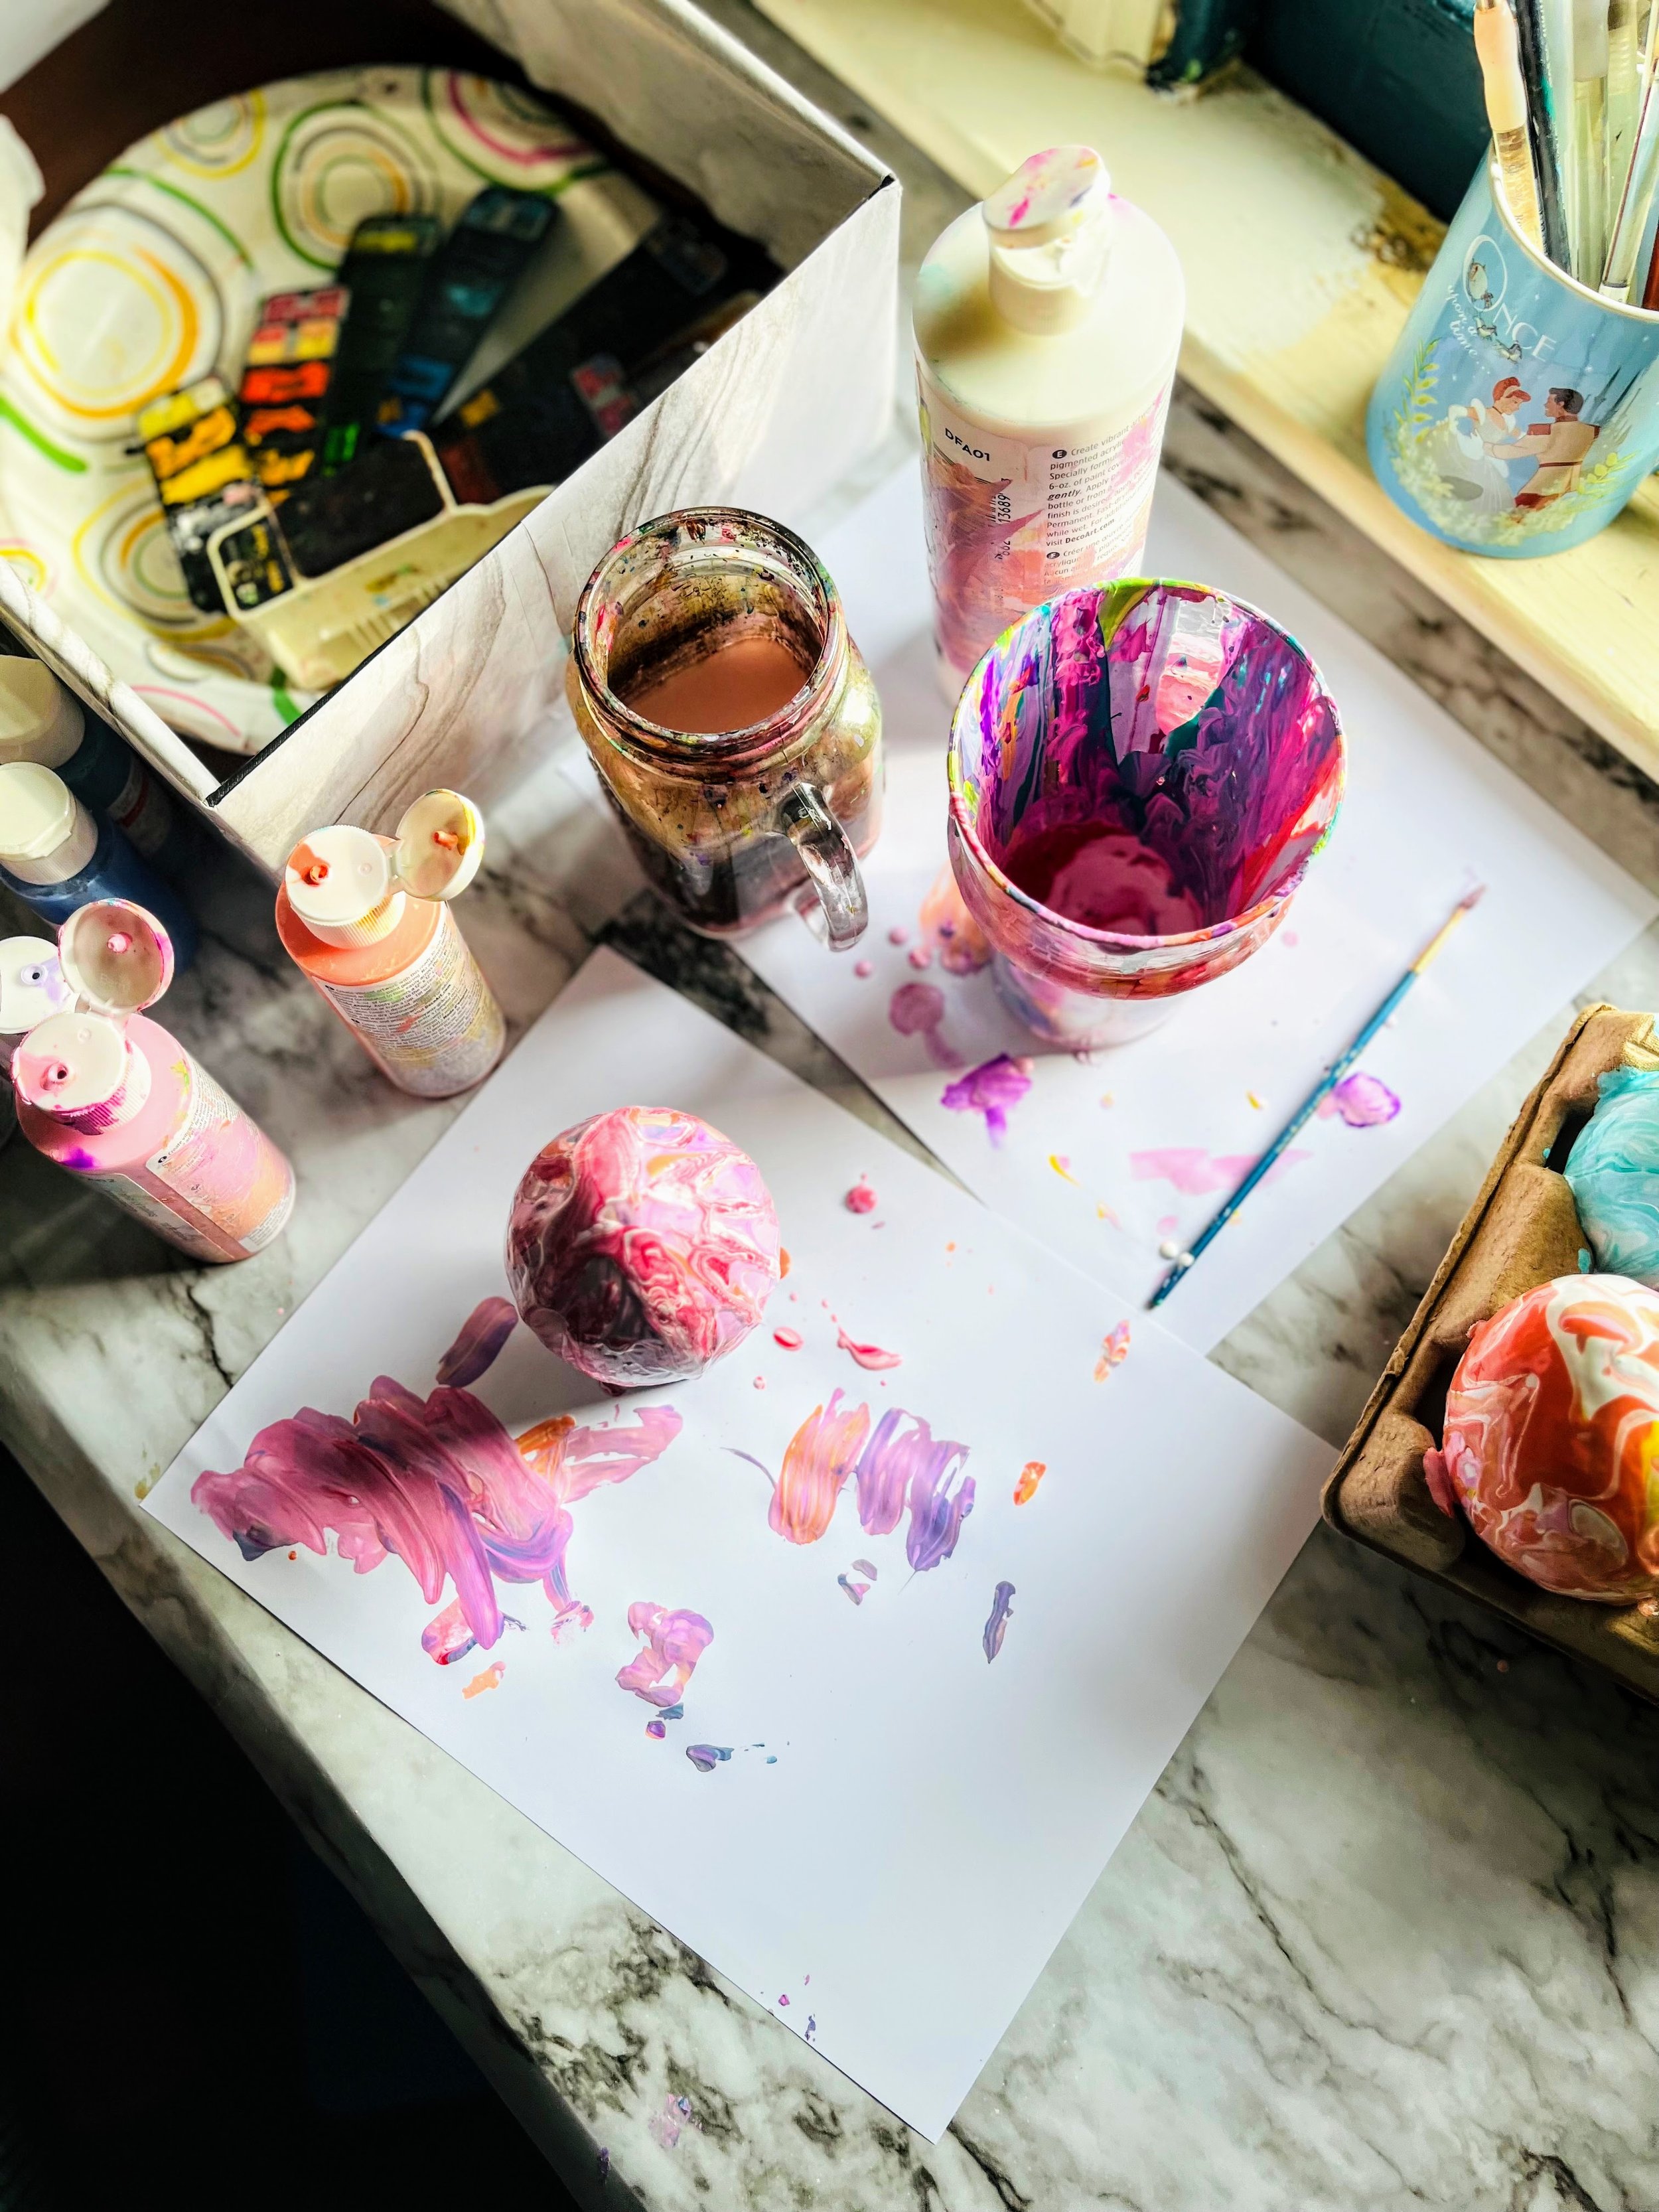
the process
The BEST part about acrylic pour is how forgiving and simple the process is. Basically, you take the colors you would like to do each egg in and squeeze a few generous squirts into the same cup. You can twist the cup in your hands a few times to get the paint colors swirling a bit and then proceed to gently pour the paint over the center of the egg. Make sure to rotate the egg slowly while pouring the paint to ensure an even coverage. You will see the most beautiful rainbow of colors swirling down and around the egg as it continues to spread and dry!
After you have added the desired paint colors and covered the egg, immediately place egg into the stand to dry. You will want to make sure not to smear the paint with your hands in the process to avoid smearing the organic marbling of the paint. Your eggs will likely need around 24 hours to completely dry, so you can leave them out on a shelf somewhere overnight and let the paint continue to work its magic. If you choose to add glitter, you can sprinkle the desired amount wherever you chose about 15-20 minutes after applying the paint.
The results
You can see I spared no mess during this creative process! Truly it is so much fun to mix random colors together and see how they swirl and create such a unique finished look on the eggs. I also preferred this larger sized egg (2.67" x 2.67" x 4") because it gave me a larger canvas to explore with.
After the eggs dry, it is so fun to lay them out on display. I am still playing with different ideas for how I want to display mine, but decided these straw baskets were a great first try!


your turn
I hope this little project tutorial inspires you with some new ideas for decorating some easter eggs! This project is overall extremely simple and satisfying and gives you a lot more margin for error than other paint mediums. For this reason, it could be a great project to try with kids as long as you have a system in place for the mess!
If you decide to try your hand with acrylic pouring your eggs, I would LOVE to know how they turn out. In the meantime, do you have any egg-painting traditions or other favorite Easter crafts? Feel free to share in the comments below!


